Final Cut Pro X
Final Cut Pro X was the editing software that we used to complete the production of the trailer. It is simple to use, and allows for high quality pieces of footage to be created. The tools offered are very efficient, and we used the program on an Apple Mac operating system as it is fast and is able to render higher quality video footage.
Within our video we have showcased how to import video clips, which forms the basis of any video made in the program. There are two ways to achieve this; either through converting YouTube videos to an MP4 file through an online converter, or by using our own footage imported from an SD card directly into the program. If using an online converter, we had to copy the URL of the video and paste it into the converter and selecting the aforementioned MP4 file type. After waiting a short while, the video would be converted for use within Final Cut. This is done either by saving the converted video and inserting it from the program, or by dragging and dropping it from the internet browser window to the Final Cut window. This can then be repeated with any additional videos that may be required.
The basic processes of Final Cut can be easy to understand; it focuses on a simple to use interface to allow for quick editing. Once the video footage required has been imported using the aforementioned methods, they can be inserted onto the timeline with a simple drag and drop method. This provides the ability to easily move around pieces of footage to the required locations and also lets them be moved around without messing up the overall layout that has already been established.
Each clip can be manipulated in numerous ways, allowing them to be changed to suit the project. Basic manipulations include using the Blade tool (B) to cut a video clip at any point, which separates it into two individual clips. This allowed us to form the basis of our trailer easily, which in turn let us edit each section individually to improve the overall flow of the trailer. We could also use the keyboard shortcuts alt+[ and alt+] to trim clips to specific selected points on the timeline; again helping us to better improve the flow of the trailer.
One of the first things we did was adjust the colouring of the clips through the use of the colourboard; which allowed us to manipulate the Colour, Saturation and Exposure of individual clips. Colour changes the actual colour colour of the clip, Saturation changes the intensity of the colours in the clip, and Exposure controls the lightness of the clip (allows shadows to be emphasised more). These allowed us to adapt our clips to better suit our trailer by darkening them with the Exposure levels to make them more threatening and mysterious. This would overall make the theme of the trailer more apparent as the clips we originally used were mainly filmed in light conditions.
Text was another element that was required in our trailer, namely in the titles used throughout. To do this, there is a tool situated on the bottom right section of the screen that allows us to place text anywhere on the screen. From here, an additional menu can be accessed in the top right that provides options to manipulate the text's font style, size, colour, and more.
In addition to the video clips, we are able to separate the audio from them to manipulate them on their own. By right clicking a video clip and selecting the option Detach Audio, the audio can be separated into its own clip. We could then manipulate the volume, duration and effects put on the audio to better suit the clips they were associated with.
Weebly
|
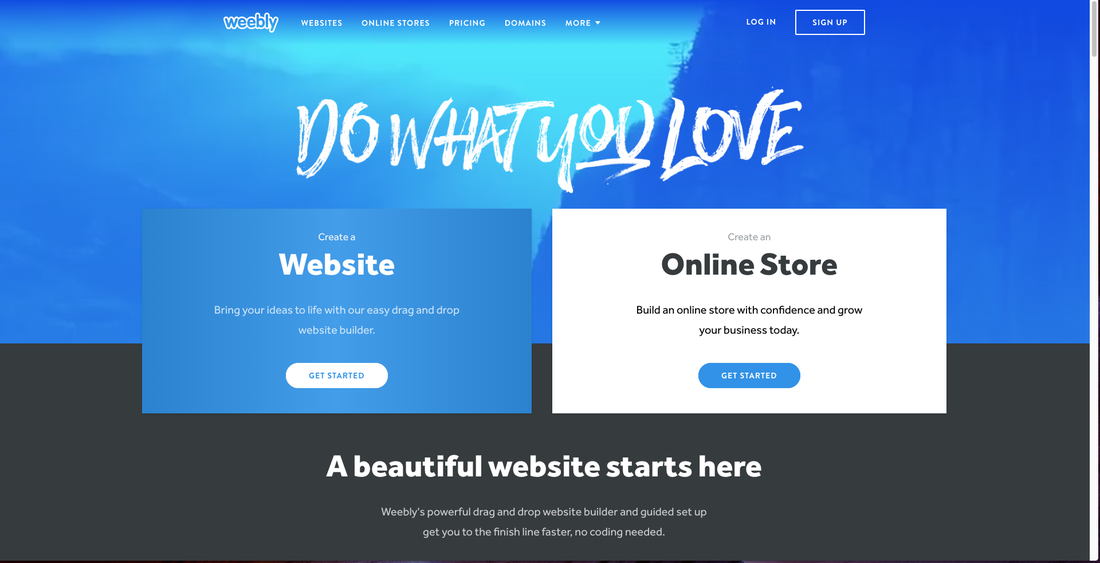
Weebly is a free online tool that is used to create websites. It implements a simple drag and drop method to quickly insert text, media and aesthetic features to make a high quality , functioning website. They also provide the option for getting a proper ".com" domain name so that it is more likely to appear in search results; however this requires a small fee.
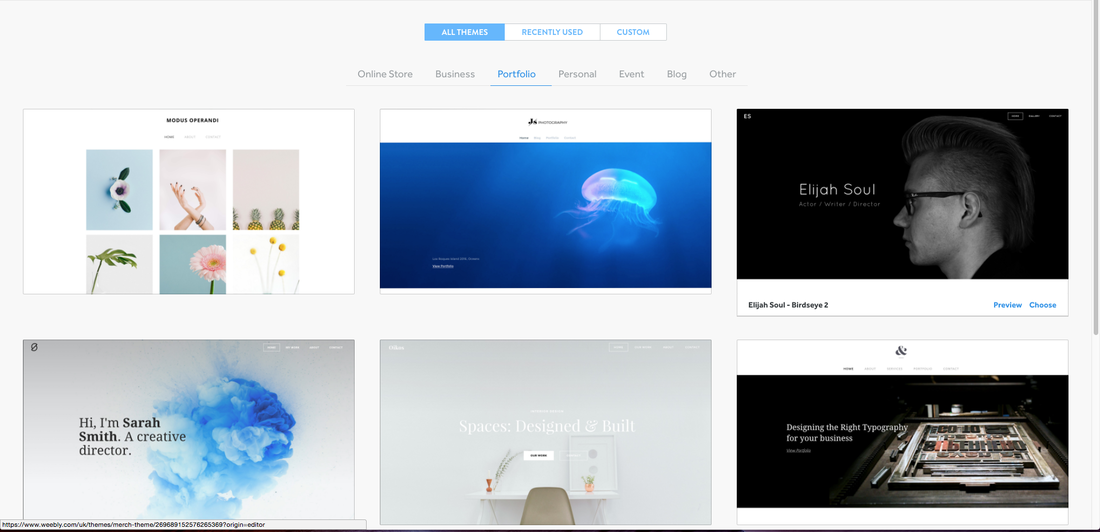
The Theme tab is the first thing that greets you when you go to create a website. This gives you a set of premade themes that can be edited based on the requirements of your website; providing you with a basis to work from. There are a variety of options available, and are split into different bats to help narrow down the choices. Once a theme is picked, you can move on to the basic building of the website.
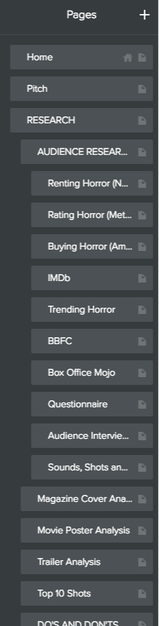
The Pages tab is what allows you to create pages and organise them into sections; for instance we have a number of pages under the Audience Research section, each of which has further pages associated with them (as shown by the indentations). These indentations This tab also lets you delete any unneeded pages or rename them if necessary.
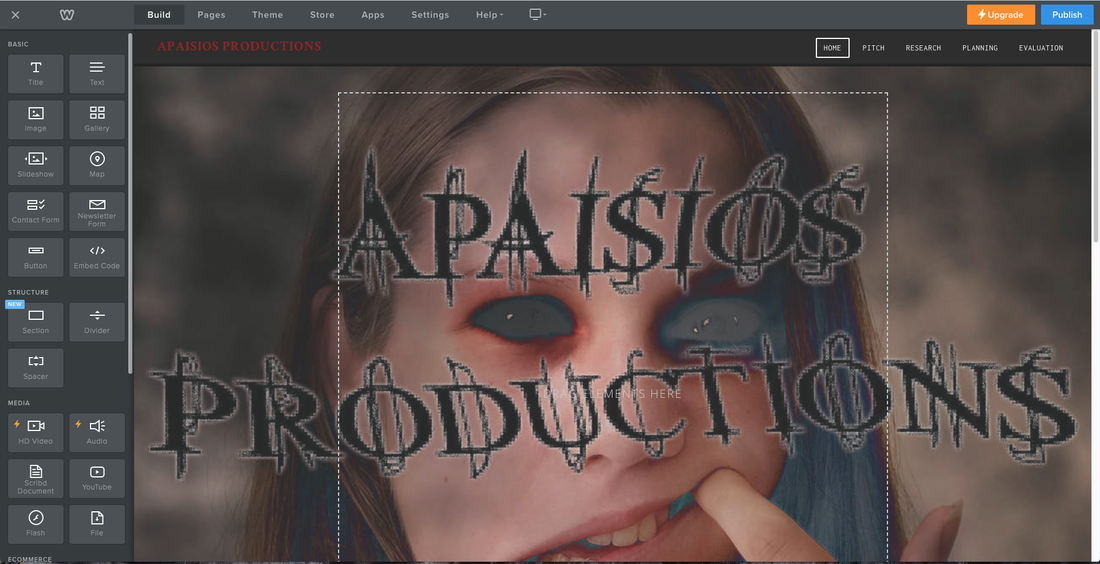
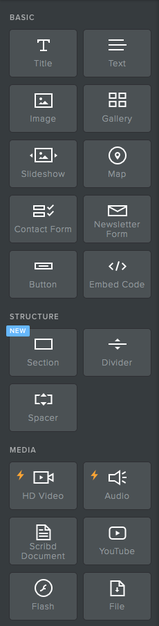
The Build tab will be used the most to build individual pages; inserting text, structure and media elements to create the optimal layout. We mainly used the basic text, title and image blocks to form the majority of our pages. To insert an image, there are options to upload one from your computer's desktop, as well as by inserting a website link to a specific image (although this must be of a correct file type to work). Another block we used regularly was the YouTube block, which was used to insert videos from YouTube that we had previously uploaded (such as our trailer and interviews). This is done by inserting the URL of the corresponding YouTube video, which allows it to be viewed on the webpage. It was these four blocks that we used the most to structure our pages, and helped us to effectively create a professional looking website that conveyed our points across.
|
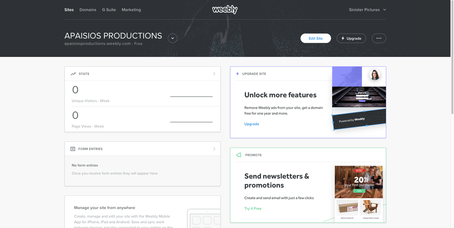
The weebly editing page is accessed through the Weebly home page's "Log In" option, located in the upper right of the page. By logging in with the registered email address, this allows you to access your website's Weebly homepage. This displays basic statistics of views on your site, as well as additional options for upgrading to a paid website.
When the main editing section of the website opens, you are greeted with your website's current home screen and a selection of editing options along the very top of the page (Build, Pages, Theme, Store, Apps, Settings, Help).
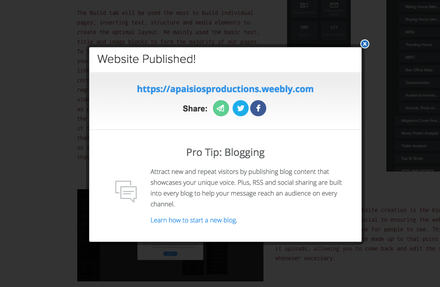
The final element of the website creation is the blue Publish button, which is crucial to ensuring the website you create is uploaded online for people to see. This saves all changes to the site made up to that point before it uploads, allowing you to come back and edit the site whenever necessary.
|
Photoshop
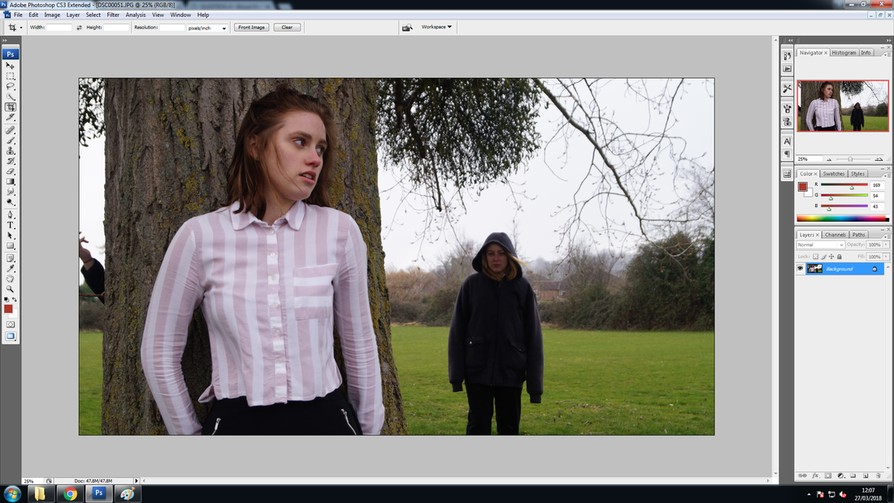
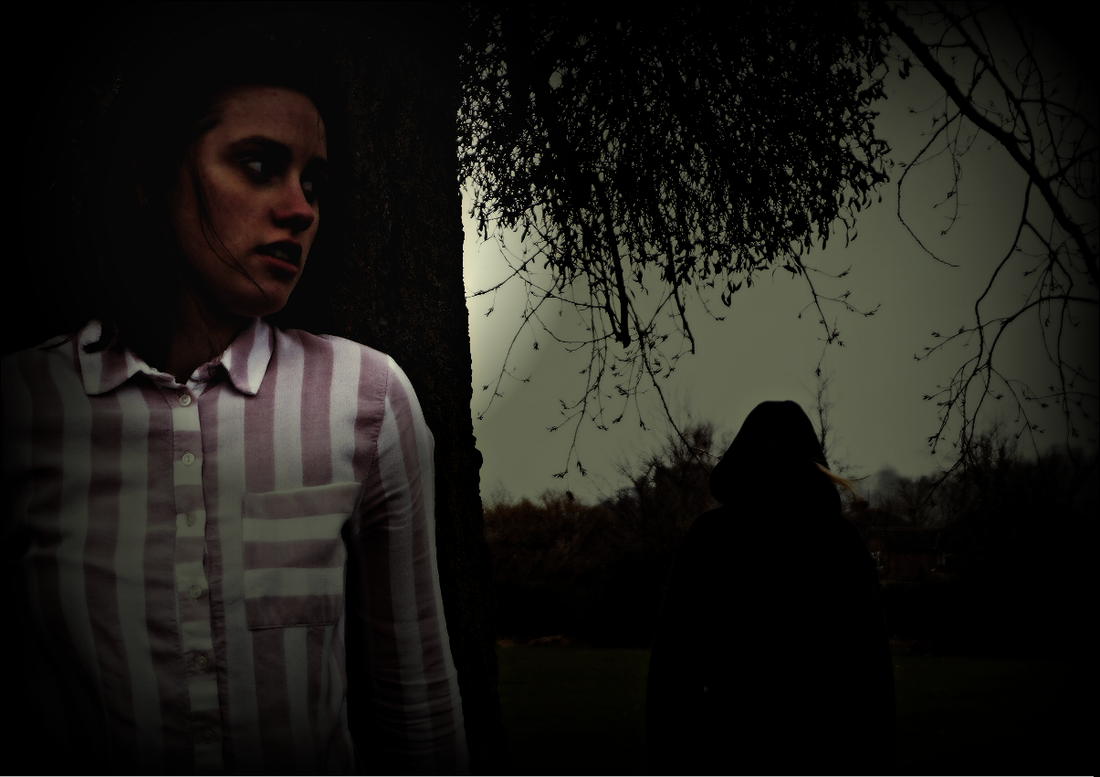
Photoshop is a software program that is used to edit and manipulate images. We used this program to create the advertisements for the magazine cover and movie poster; utilising its many different tools to help create authentic looking advertisements that conveyed the theming of the film. We had two separate photoshoots, one location was a tree within the school grounds, here we photographed both Hele (the main character/victim) and Jess (Black Eyed Kid/Villain), these were taken while in character. Our second photoshoot was out of character and only featured Hele, we based it off of a more stylised cover; we were now ready to start editing our promotional products.The user interface of Photoshop can be changed to best suit the user needs, we stuck to the default as is provided all the suitable tools we needed to create a professional product.
In Photoshop it is optional whether to open a new document and selecting a size from the menu provided, such as A4. We chose to import our original image straight away, this made sure that we had the exact dimensions that we needed for our poster and magazine.
In Photoshop it is optional whether to open a new document and selecting a size from the menu provided, such as A4. We chose to import our original image straight away, this made sure that we had the exact dimensions that we needed for our poster and magazine.
|
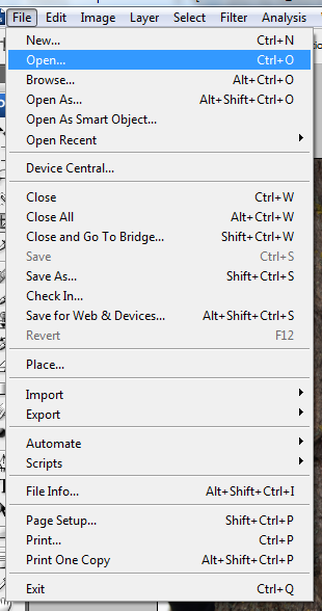
In order to open a picture in photoshop you can go to 'file' and select 'open', here you can choose the picture you're wanting to manipulate.
|
|
In our original image we had a hand behind the tree which we don't want to be seen in our poster, this was easily resolved by simply cropping the image. We cropped using the rule of thirds to ensure that Hele was the main focal point of the image. This improved the composition of the image and almost split it into two sections, the tree creates a solid contrast against the horizon which highlights the contrast between the two characters.
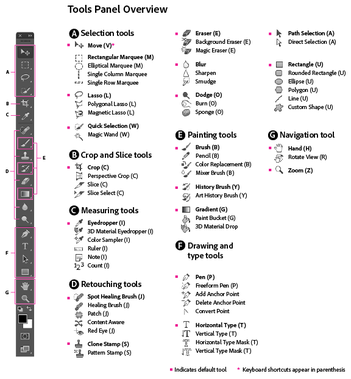
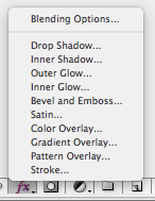
Photoshop allows you to access a wide variety of tools that help you edit your images or videos. They all fit into 7 categories; selection tools, crop and slice, measuring tools, retouching tools, painting tools, drawing and type tools and navigational tools. The tools that were mainly used to edit our poster and magazine were: crop, pen, horizontal type and the drop shadow option in the effects tab. |
|
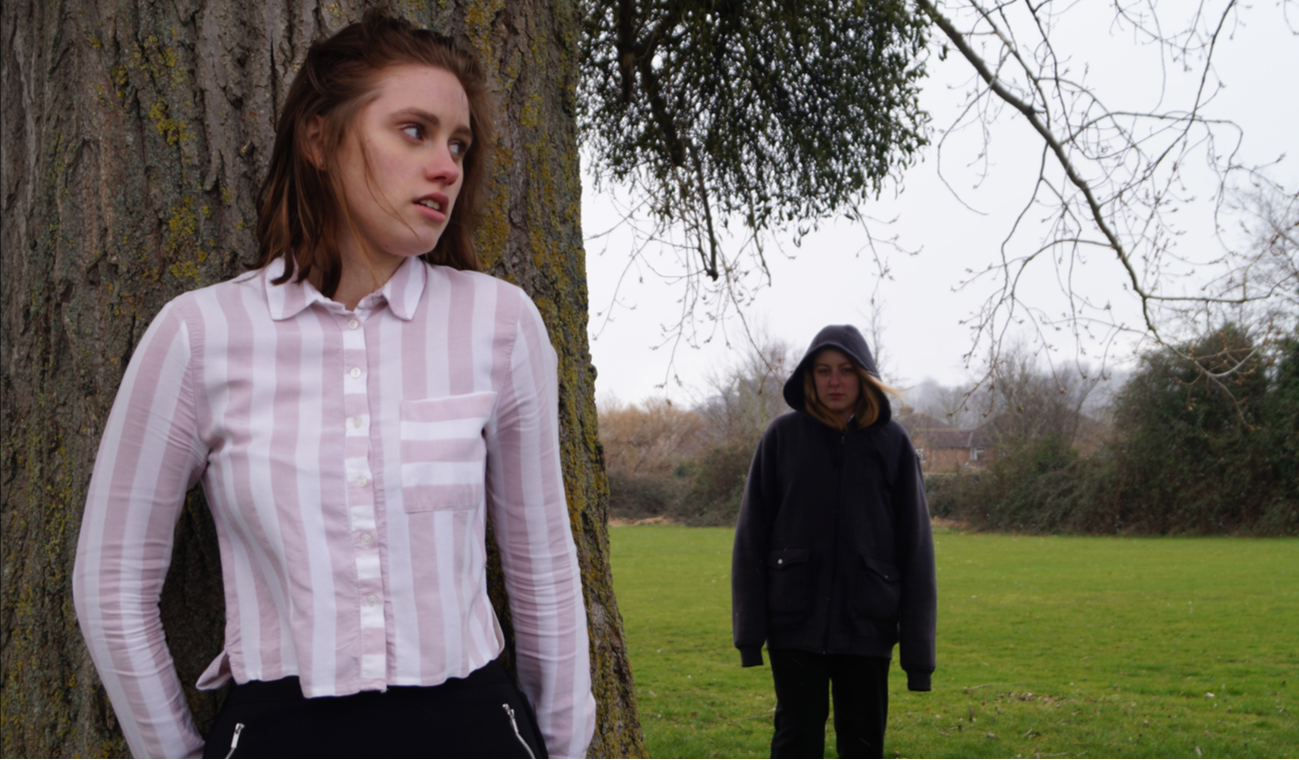
Through the use of tools such as 'curves', 'levels' and 'select colour' we were able to darken and increase the contrast of the original image to make it more like a conventional horror poster. A white circle gradient was used with the blending mode 'soft light' to create a spotlight on Hele, this tells the viewer that she is the main character. This also creates a strong difference between the characters, highlighting to protagonist against the antagonist.

Just like a conventional poster we listed the names of the actors and actresses that make an appearance in our film, this comes under the starring element of the poster. Our website is located at the bottom of the image in the middle of the four logo's we added: Universal, Dolby Digital, DTS and our own logo which we created in Photoshop, Sinister Pictures. The font used for our title "Case Study Apaisios" is in the font Orator Std, with a slight blue glow. Text is a vital tool in creating our promotional poster and magazine, Photoshop comes with default fonts which didn't have the specific so we used Dafont.com. Film posters typically use the font SF Movie Poster which we found on Dafont.com, this font is a noticeable feature.The tagline is written in morse code behind the font reading "you can't run or hide. We have a strong theme of lines which is a big part of our branding and can become a recognisable feature to our franchise.
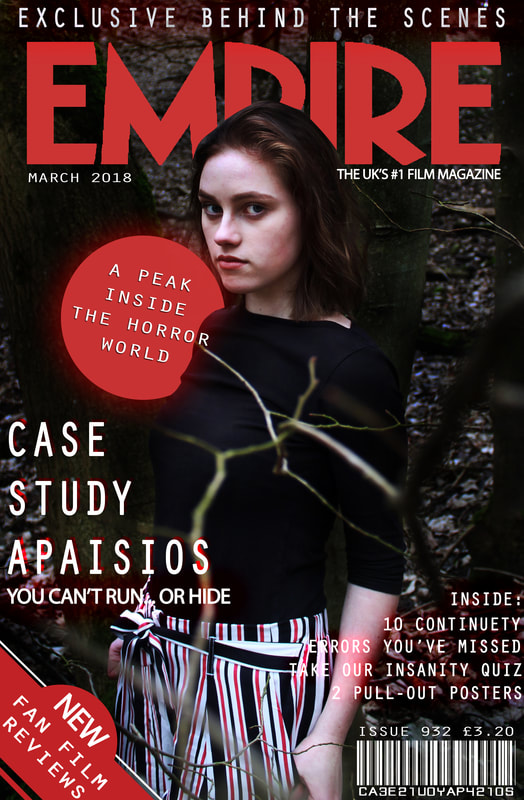
Our stripes theme continued into our magazine with Hele wearing striped trousers, Empire's magazine covers typically have a colour theme, we found the red stood out and made it the theme of our magazine cover. The background of the image was a bit too buy for a cover photo so we used the 'dodge' tool to darken the surrounding areas.The text we kept consistent by using the font Orator Std; a red glow was used on some of the areas of text such as the skyline and inside contents. This image was taken in the woods as we kept our inspiration from the Eden lake poster, we played around with a stylised positioning in order to get the best cover-like image. Using the pen tool we traced around Hele's head to bring her in front of the masthead, this is commonly used throughout all of Empire's magazines.
